Wednesday

When life gives you spotty bananas...

Make banana bread!

This is a super easy recipe. So easy that, up until recently, this was the only thing my younger sister could make. (It is safe to say that now that she has been living in Nunavut since August she has learned to make many more delicious things.)

This has been my family's go-to banana bread recipe since my childhood and it is foolproof. Plus you will almost always have all the ingredients in your pantry already.


100 points to Gryffindor if you can guess what ingredient I forgot to write down...

Kindly add 3 over-ripe bananas to the ingredient list.


The basic recipe just says to combine all the ingredients, toss into a pan and bake which is perfect if you're in a time crunch but I like to do it in a few steps. I feel like you can a smoother consistency and a more blended flavour.

Mash your 3 bananas - I just used a fork.


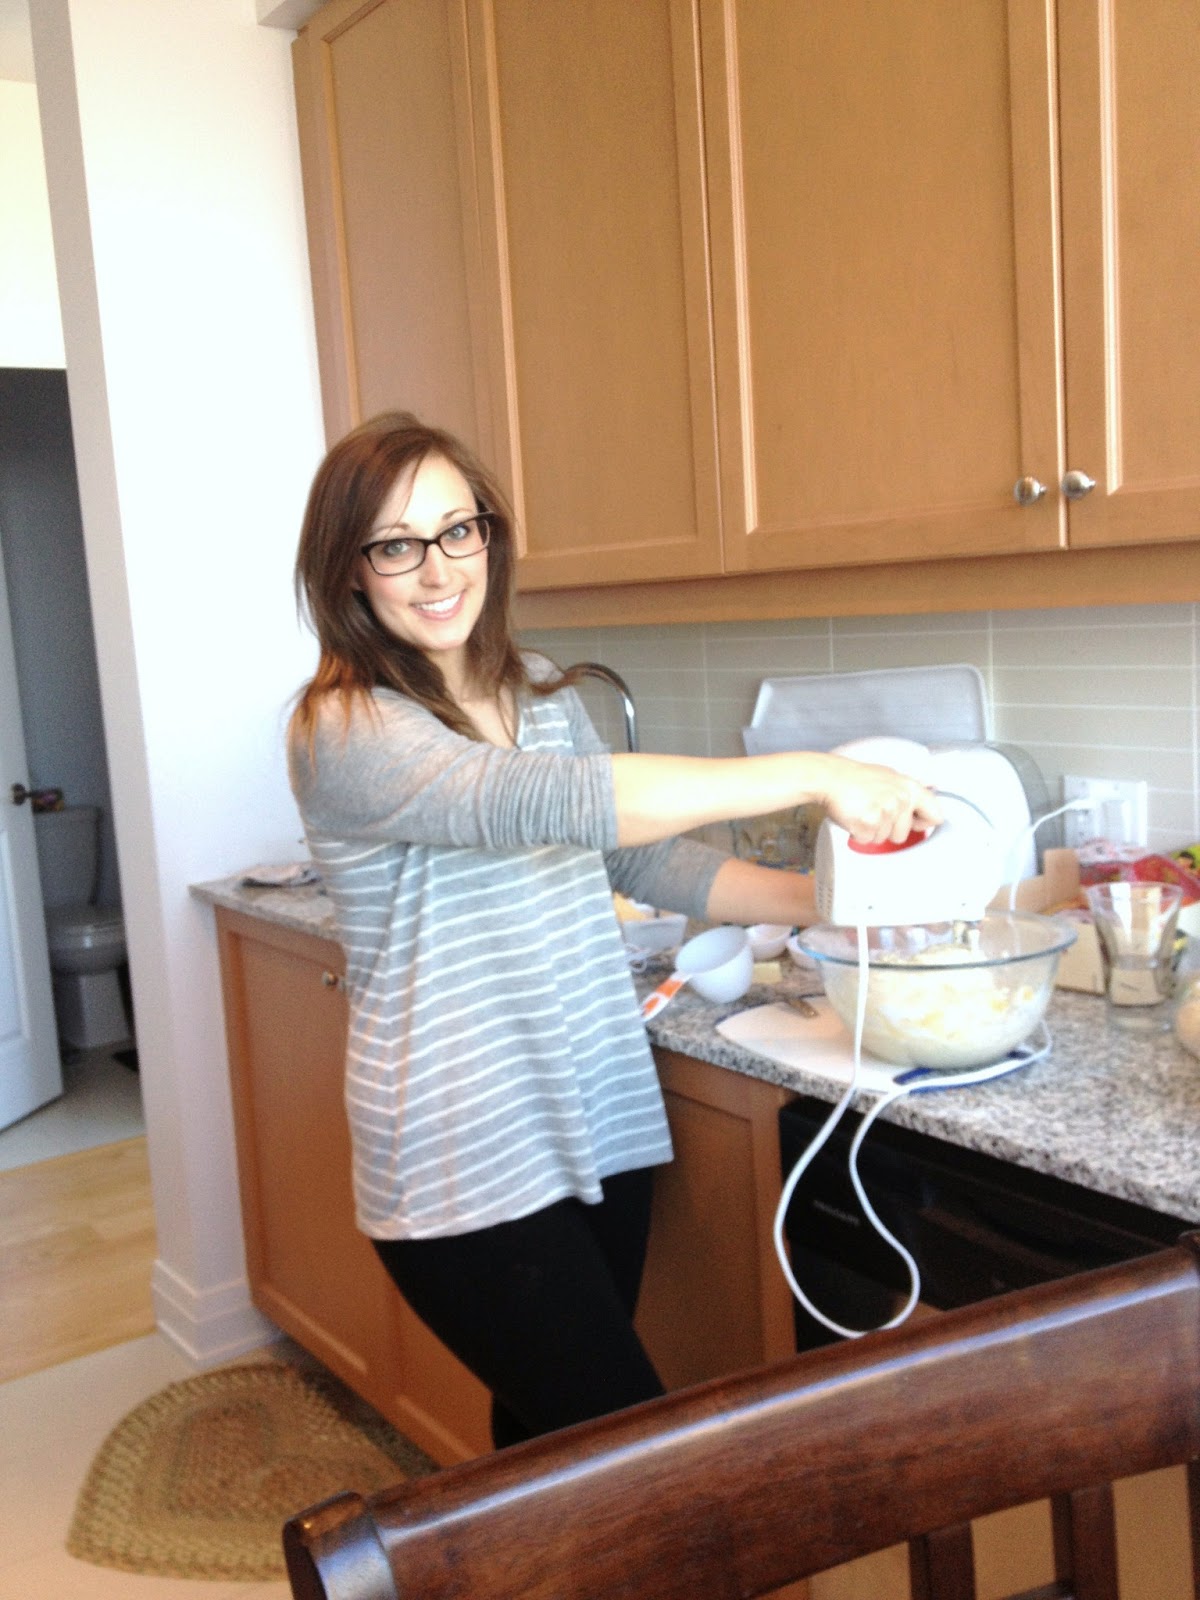
Drop in your butter or margarine (I use salted butter) and eggs.
Mix together with a spoon or electric beater.


Add in your sugar, flour and baking soda.


Mix/beat until your batter is smooth and creamy


Now is the time to add a little extra flavour. I like to add in 1 tsp of cinnamon and a handful of chocolate chips.
Chocolate chip banana bread reminds me of my childhood - I refused to eat any banana bread or muffins without the chips.There's my little wave of nostalgia for the day.


Combine and add to a loaf pan or a 12 piece muffin pan.


Bake at 325F for one hour - so says the trusted family recipe.

I always set my timer for one hour, test the done-ness with a tooth pick and it never comes out clean. *If you insert a clean toothpick into your bread, muffins, cakes, etc. and it comes out clean it means it is done. If it comes out with gooey batter attached - leave it in the oven a bit longer.

It depends on your oven but I generally keep my banana bread in the oven for about 15-20 minutes past the hour.

After the first hour, just keep an eye on your bread.

It's not like you aren't lingering around the kitchen, inhaling the intoxicating smell, waiting for the bread to be popped out of the pan anyways...

Once it is done, let it cool for as long as you can and then slice with a serrated knife. 


I usually just go all out and slather my slice with butter.

It is so simple and  comforting that I actually can't have it in the apartment.
Seriously - I ate half the loaf myself, remembered bikini season is around the corner and ended up giving it to friends.


Pin It Now!

Sunday

Garde-Manger - ft. Lobster & Halibut

I'm a big fan of Chef Chuck Hughes and his cookbook, Garde Manger, is a thing of beauty - full, glossy pages of the food he cooks at his flagship restaurant (of the same name) in Montreal that will leave you craving lobster, lobster, lobster. I bet you can guess where this is going...

A lobster dish seemed to be the obvious choice so Phil and I settled on a classic lobster roll - something relatively easy since I have never cooked live lobster before. The lobster rolls would be our appetizer and we chose pan-roasted halibut with roasted veggies as the main.


Who knew making homemade mayo would be so easy and tasty! I'd like to think that I will only use homemade mayo in the future now (once my jar of Kraft Miracle Whip is done...) but the downside is that it only stays good in the frig for about a week and I don't use mayo that often. But the taste is surprisingly light (despite the full cup of canola oil in there) and you can really tell the difference between gloopy store-bought mayo and the fresh stuff.


Phil had no trouble making friends with Mr. Lobster. Me on the other hand... well it took three different pictures to get one where I didn't look like a squeamish little girl. They remind me of spiders with all those legs - gross. They just taste so damn good though.


A cocktail seemed appropriate to help us (me) relax before it was time for Mr. Lobster's hot bath.

A delicious bourbon mint julep.


The fruits of our labour. And I really mean it when I say labour.

Unfortunately, in the chaos, I forgot to snap pictures but I have none of the necessary tools needed for cracking a lobster. Phil used a cutting board, some tin foil, a frying pan and my kitchen floor. I won't go into too much detail but you can imagine the mess.

While not ideal, it still worked and we were able to extract the deliciously moist meat.

I really wish I had taken a pictures of the process though...


The freshly made mayo, cooked lobster, some green onion and salt and pepper made up the filling.


And with a few toasted buns, the lobster rolls were assembled!


Next up was the halibut and veggies. The veg was super easy - cherry tomatoes and sliced zucchini tossed in some olive oil with salt and pepper - roasted in a 400 degree oven for 10 minutes.


The halibut was even easier to cook. Season the fish with salt and pepper, heat some olive oil in your pan and cook, skin side down,  for about 5 minutes. When it is golden and crispy turn the fish over and continue cooking for about another 5 minutes. You'll know the fish is done when it becomes flaky.

Serve the halibut on a bed of the veggies and sprinkle with some fresh dill.

That's it.

And it is SO GOOD.

I love it when delicious things are easy as pie.


I think this halibut dish would be the perfect entree for any dinner party. You can use you're favourite seasonal vegetables and it takes very little prep and cook time.

I highly recommend Chef Chuck's cookbook. I found it a little intimidating at first - there are definitely some recipes that require unique ingredients and more patience and skill - but it was super fun to make two dishes that I've never made before. Plus it is always less intimidating when you have a sous-chef that will cook and crack your lobster with a frying pan for you.

To round out this incredible meal, I made double chocolate brownies with a rich ganache served with Haagen Dazs Vanilla Bean ice cream. 

YUM.
Recipe for these almost-better-than-sex brownies coming soon.


Pin It Now!